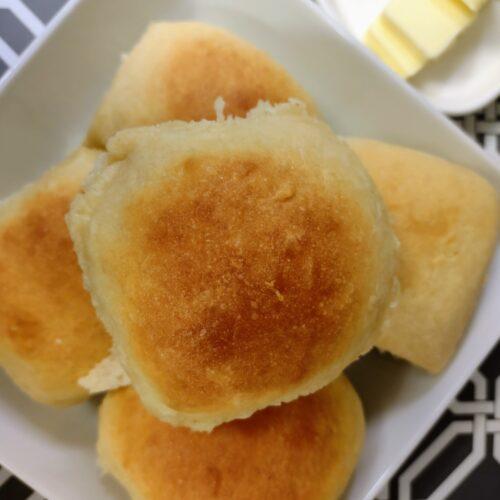
These soft and fluffy yeast rolls are massive and magical. The only thing you really need is patience. No kneading and no rolling!
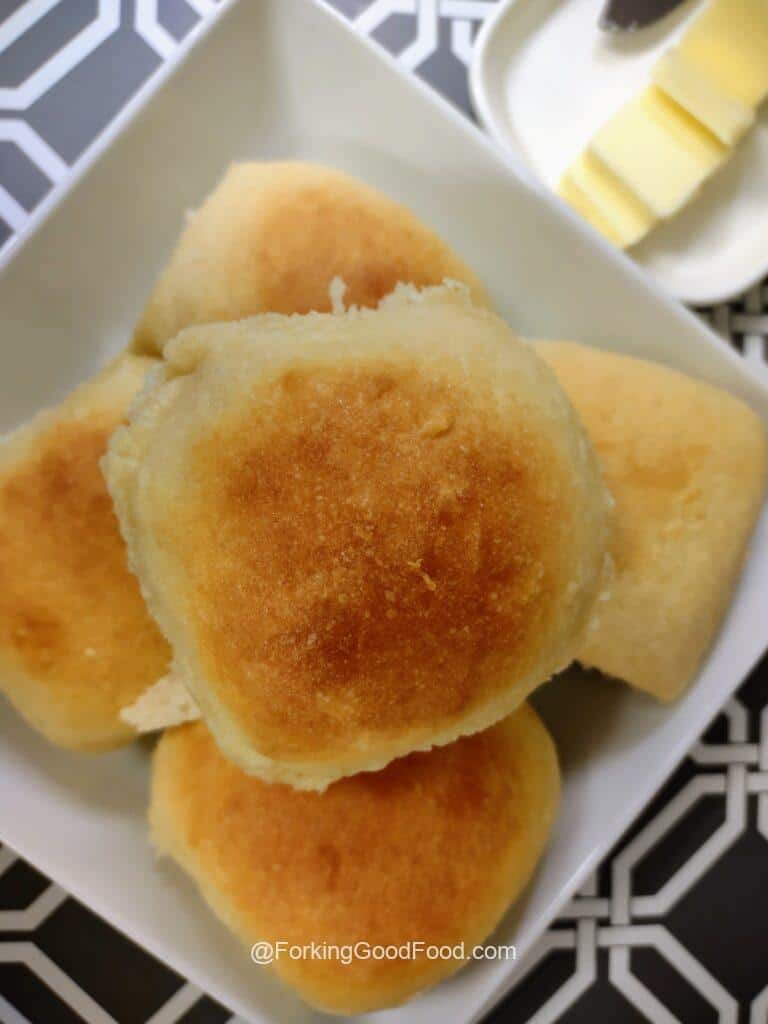
Who doesn’t love a warm soft ginormous yeast roll fresh out of the oven? If you raised your hand we need to talk. These are everything you could want in a yeast roll and more. They don’t require any special equipment or even skill for that matter. All you need is time and stretchy pants.
How do I knead dough?
Ha Ha! Trick question, you don’t “knead” to with this recipe. (Insert groan for baking pun). I honestly don’t know how these rolls get so light and fluffy with so little work but hey, I’m not going to fight it.
What makes bread rise?
There are really three things that will make bread rise: yeast, baking soda, and baking powder. This recipe uses active dry yeast. There’s a whole lot of scientific stuff about how organisms in yeast feed off sugar and in the process expel carbon dioxide thus adding air to the dough and causing it to expand. But there’s not a lot of fun in that so let’s talk about a cool kitchen hack instead.
What’s the best way to proof dough?
First you have to know what proofing is. Proofing generally refers to the final rise a dough goes through before baking. There are lots of ways to proof dough. If you live in a really warm climate like I do, you can sometimes proof your dough on the counter. There are traditional ways to proof your dough in a warm oven, or proofing box if you’re lucky enough to have one. But if you really want to have a little fun – proof your dough in the dryer. Yup – no typo there – in the dryer…. the thing sitting near your washing machine. Let it run for a few minutes to get hot, then place your covered dough inside and close the door. Do this, and it should cut down the first rise time from 2 hours to 90 minutes. Fool “proof” really – hahahaha, I crack myself up – no matter how cold it is where you are.
Let’s make some Forking Good Yeast Rolls!!
Start by activating your yeast. To do this put the dry yeast in a medium size bowl with 2 teaspoons of the sugar.
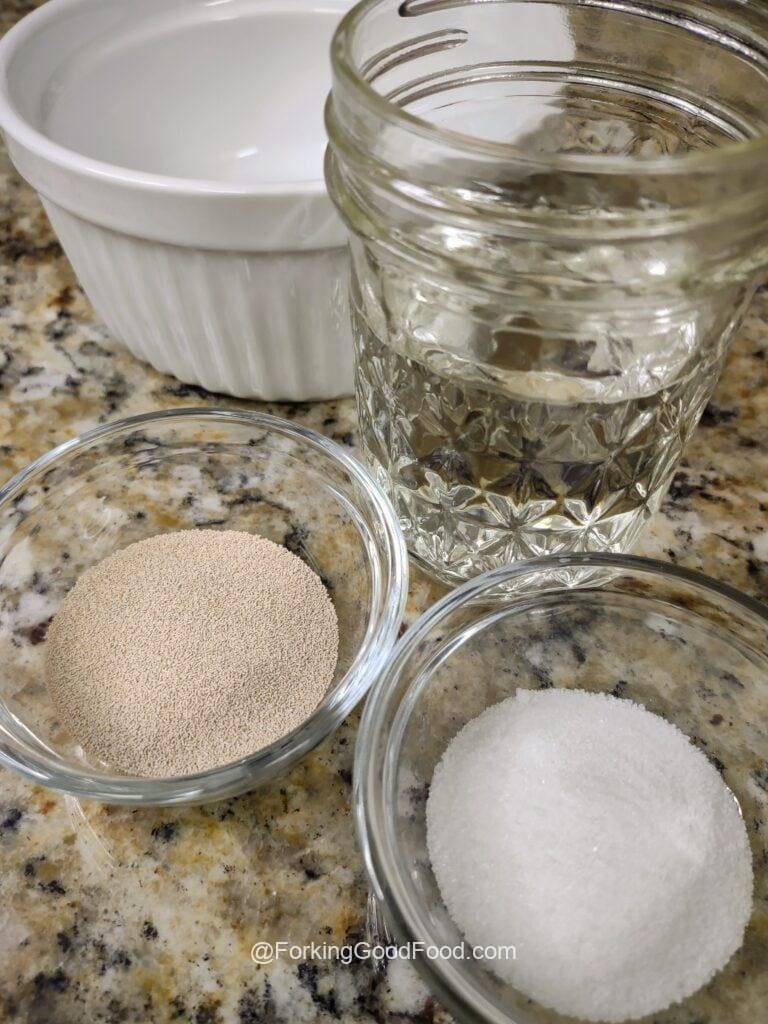
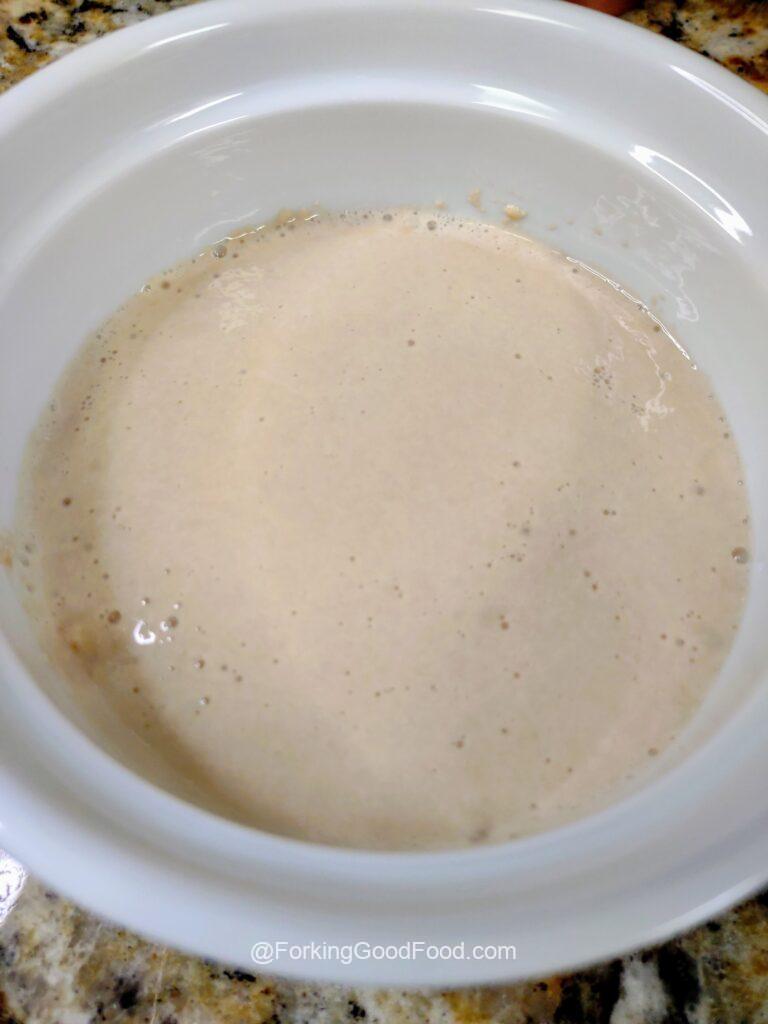
Add in the warm water and leave for 5 minutes. If the yeast mixture doesn’t froth your yeast is not good and the dough won’t rise.
Once the yeast mixture is active gather the remaining ingredients; bread flour, salt, remaining sugar, warm milk, 2 eggs at room temperature, and the cooled butter. Mix the flour, remaining sugar, and salt in a large bowl.
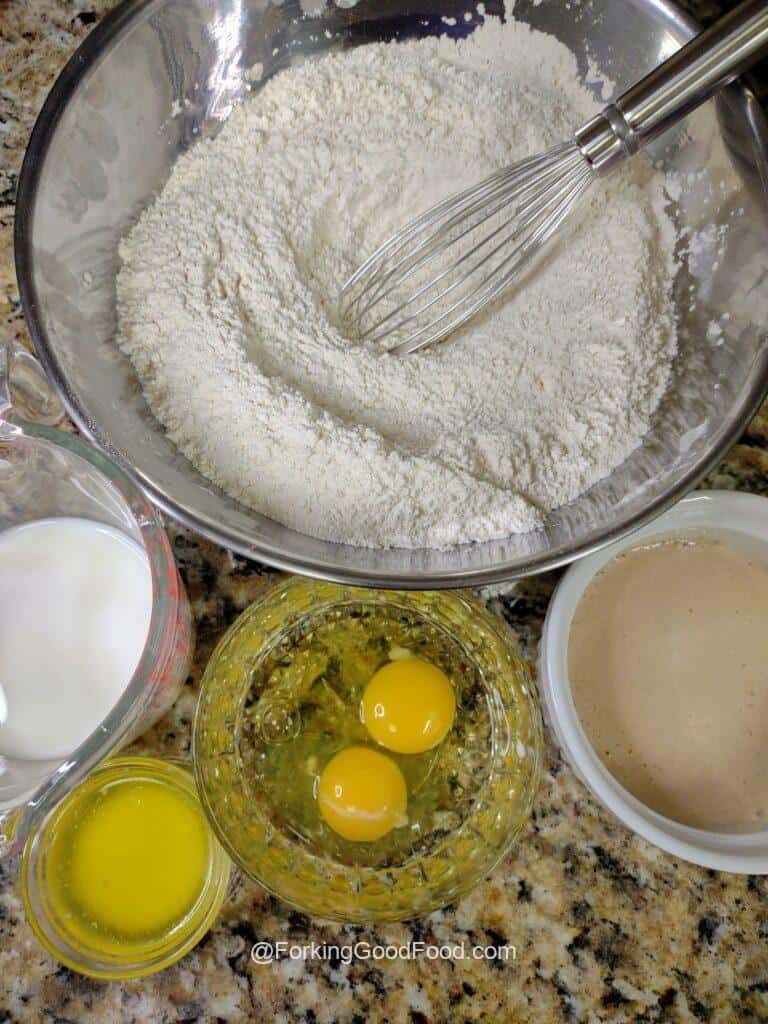
Make a well in the center of the flour and add in the remaining ingredients including the yeast mixture (make sure you get all the froth) and mix with a spoon until combined. It will be thick and very sticky.
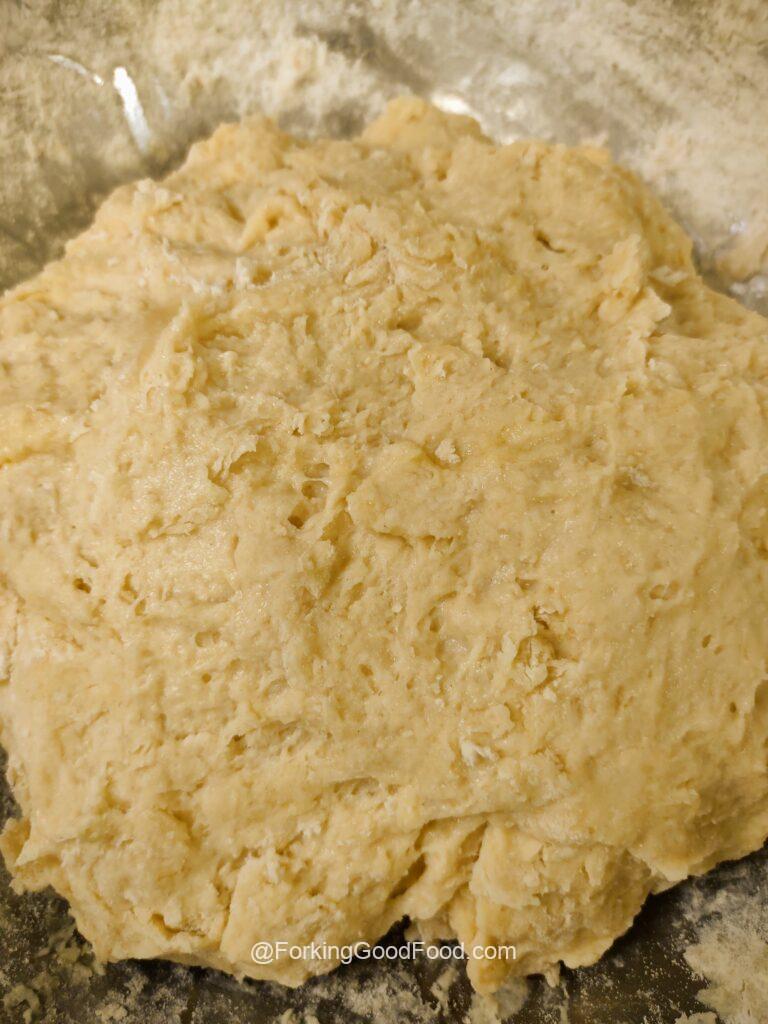
Place a clean, wet tea towel over the bowl and place in a warm spot to rise.
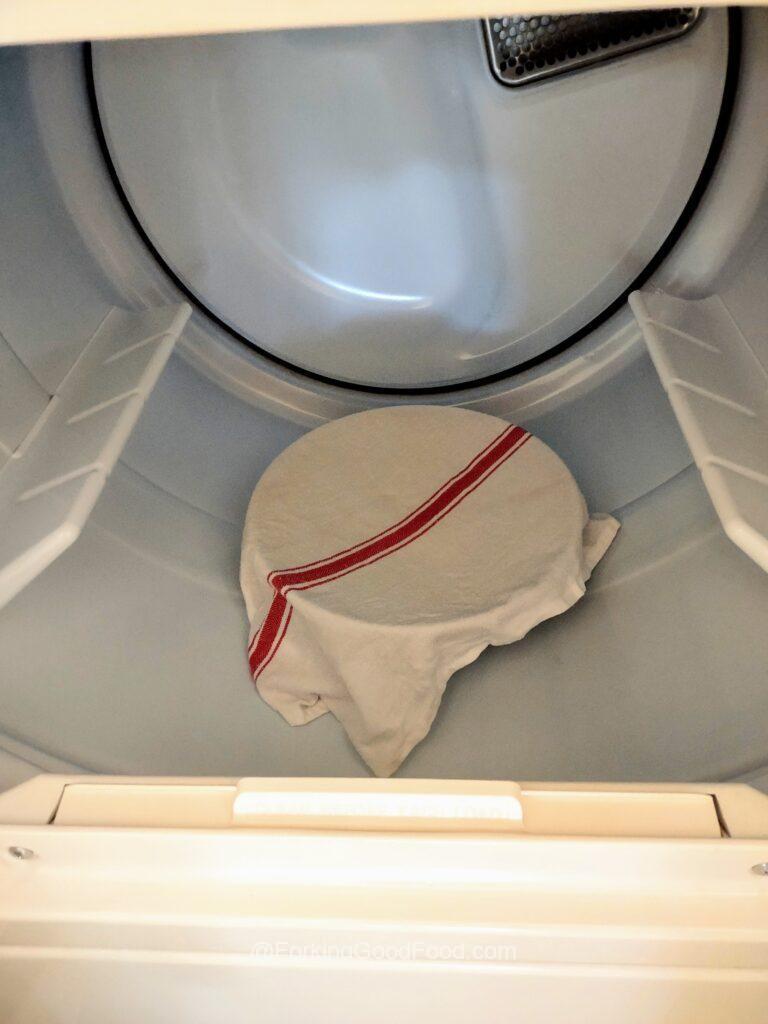
After 90 minutes, check your dough. It should have almost tripled in size. If not, give it about 30 more minutes. There should be lots of bubbles on top.
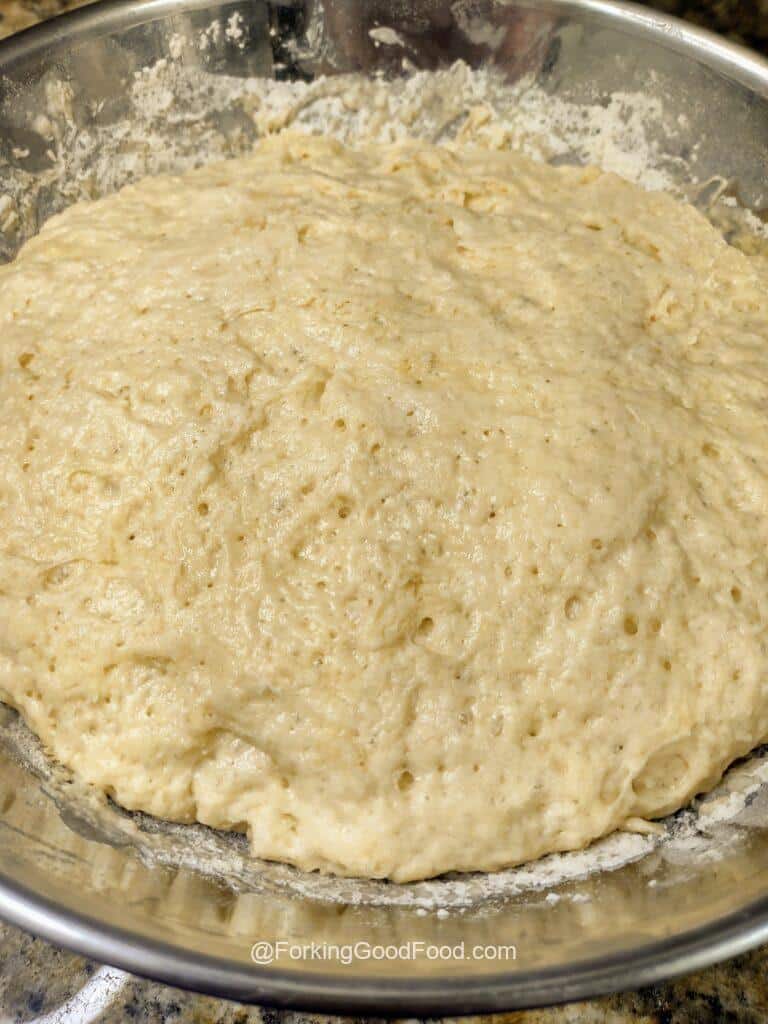
During the last few minutes of the rise, take a 9×13″ and line it with parchment paper making sure that there is enough to hang over the sides. Now for the funnest part. Take the tea towel off the dough and lightly punch the dough to deflate it. Yes, I said punch. But I also said lightly. Give it a quick mix with your hands to remove any large air pockets. Dust your work surface generously with flour, transfer the dough on top of the flour, and shape the dough into a log.
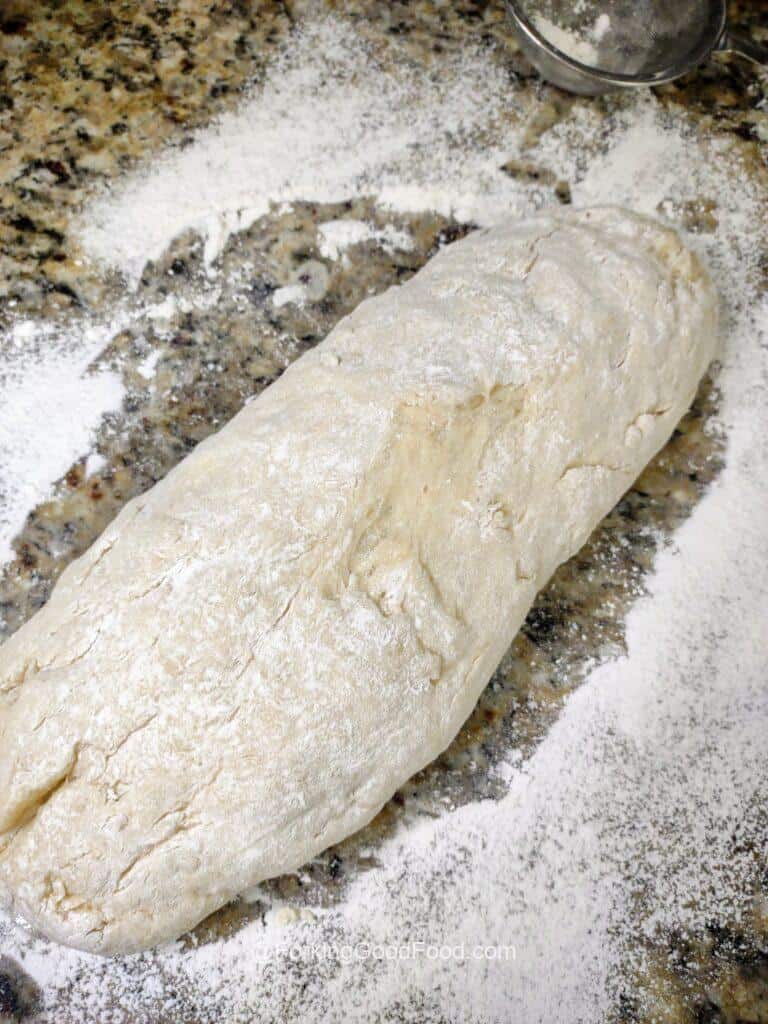
Cut the dough into 4 equal pieces, then cut each piece into 3 equal pieces so you have 12 in total.
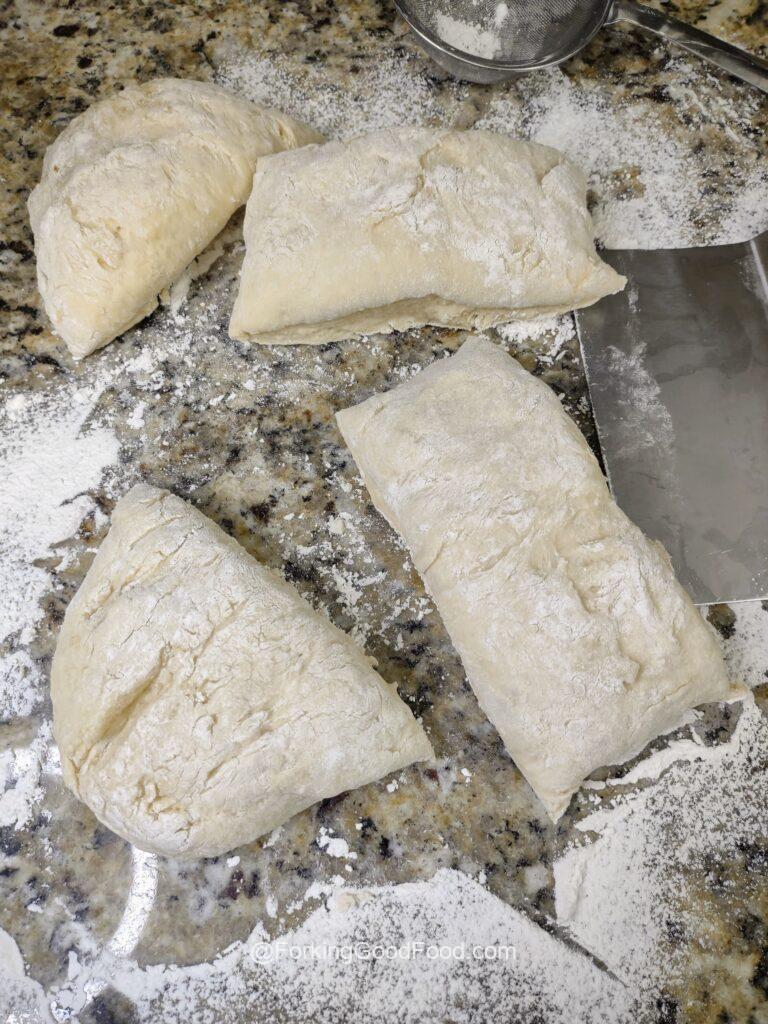
Slightly flatten one of the pieces of dough with your palm to make a rough circle. Grab all of the edges and bring them to the center so it looks like a draw-string pouch and give a little pinch in the middle to seal.
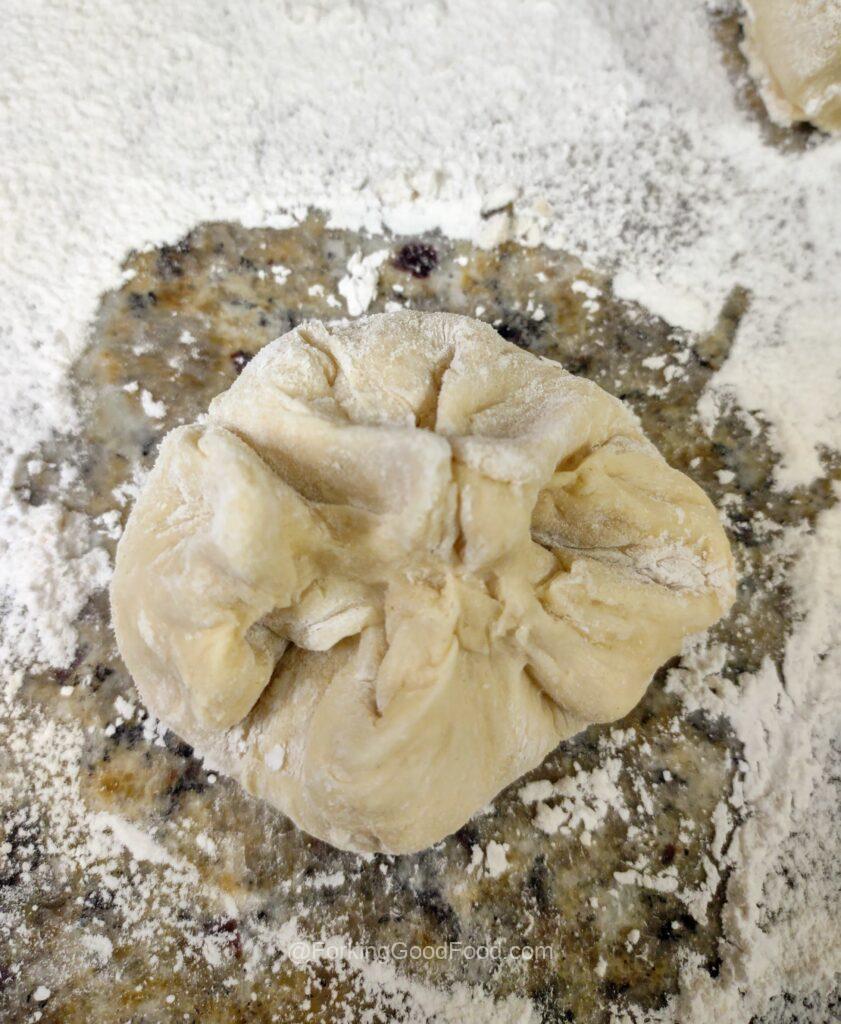
OK – no judging here – I’m a pretty messy cook so ignore the amount of dough on my hands in this next picture. Flip the dough ball over so the edges are on the bottom. Cup your hand over the ball making a sort of “cage” with your fingers but not actually touching the dough. Moving your hand in a circle around the dough thus moving it ever so slightly will make it smooth and seal the bottom even more. It’s hard to describe so watch this.
Repeat with the remaining pieces of dough until you have your dozen. Place them in the baking pan, leaving a little room in between each if possible. Spray with a little cooking spray and cover tightly with plastic wrap.
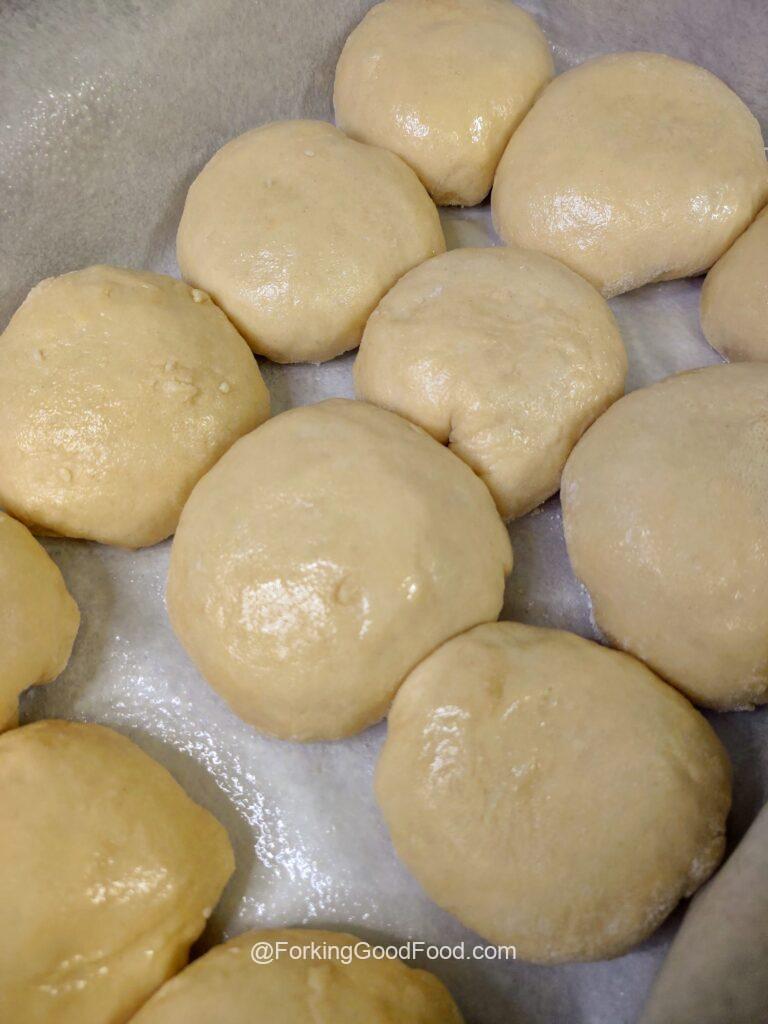
Set in a warm place to proof for about 30-45 minutes or until they’ve almost doubled in size and preheat your oven.
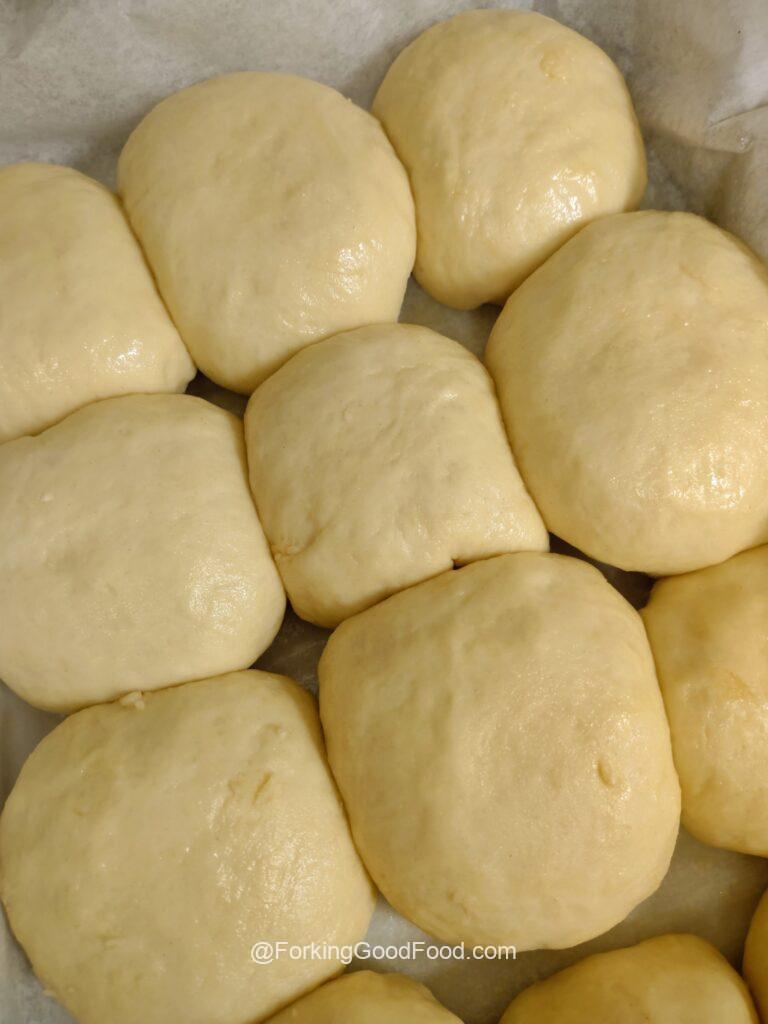
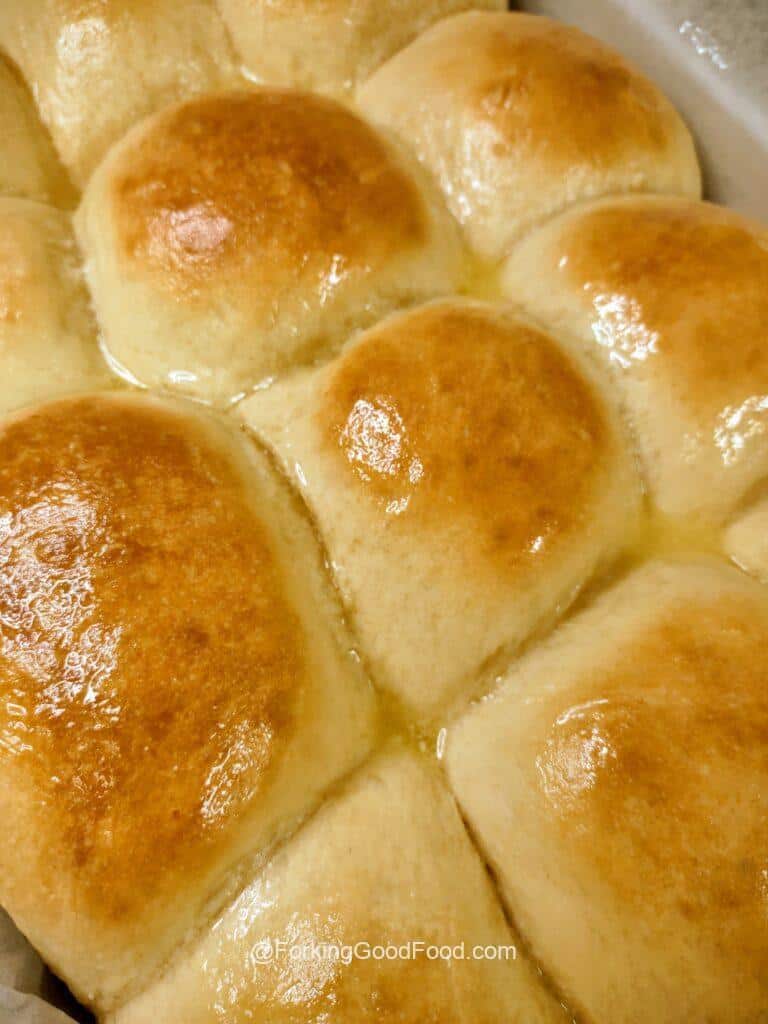
Bake for 15-20 minutes or until the rolls are a beautiful golden brown and the roll in the center sounds a little hollow when lightly tapped. Brush the melted butter on the top and let cool a little before serving.
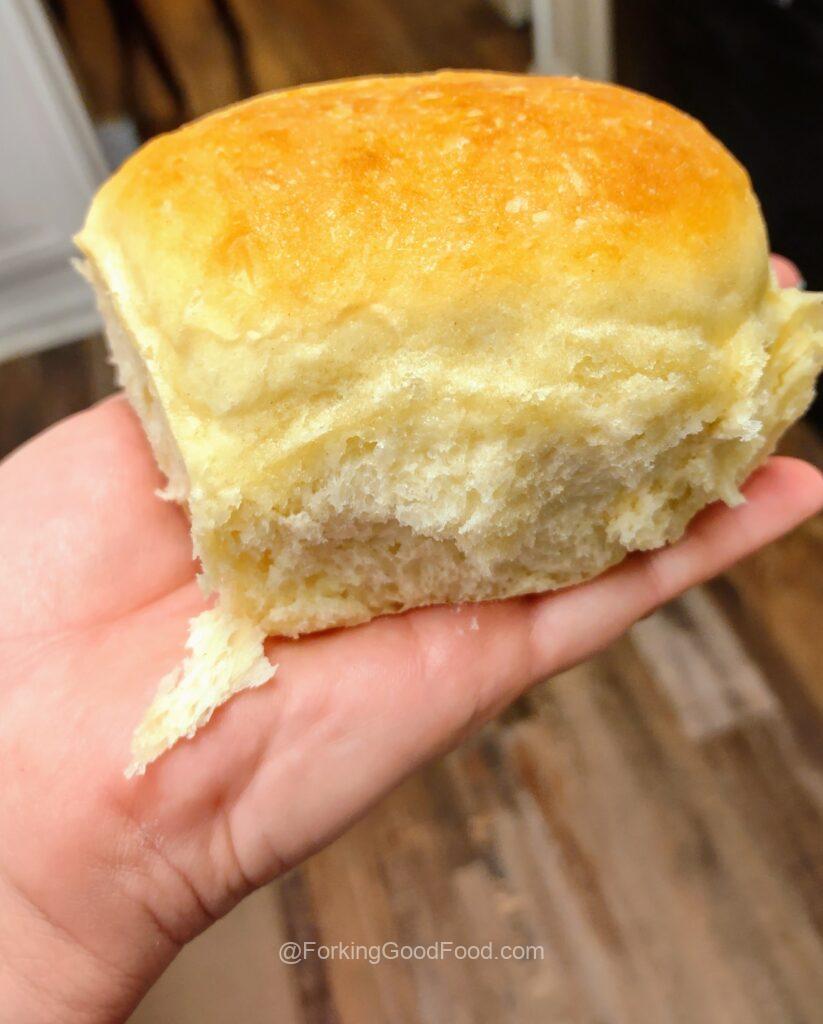
I said it before – these rolls are HUGE. Don’t believe me… take a look:
More fun recipes to try:
Forking Easy Yeast Rolls
Equipment
- 13X9 inch baking pan
Ingredients
- 2¼ tsp active dry yeast (¼ oz or standard size envelope)
- ¼ cup sugar divided
- ½ cup warm water
- 4 ½ cups Bread Flour plus extra for dusting
- 1 ½ tsp salt
- 1 cup milk lukewarm
- 3 ½ Tbsp unsalted butter melted and cooled
- 2 eggs at room temperature, beaten
- 1 Tbs butter melted
Instructions
- Place the yeast and 2 teaspoons of the sugar in a medium bowl, then pour in the warm water. Leave for 5 minutes until it froths.
- Place flour, remaining sugar and salt in a bowl. Mix to combine.
- Make a well in the center. Add milk, butter, eggs and pour in the yeast liquid, including all froth.
- Mix until combined - it will be thick and sticky.
Rise #1:
- Leave dough in the bowl, cover with a wet (clean) tea towel and place in a warm place (77F°+) to rise for around 1 ½ - 2 hours or until almost tripled in volume. Dough surface should be bubbly.
Forming Balls:
- Line a 9 x 13" baking pan with parchment paper with overhang on all sides.
- Remove the tea towel and punch the dough to deflate, then mix briefly in the bowl to get rid of any bubbles.
- Dust the work surface generously with flour, scrape dough onto the work surface, dust with flour, and then shape into a log. Cut the log into 4 equal pieces, then cut each piece into 3 pieces so you have 12 in total.
- Take one piece and press down with your palm, then use your fingers to gather the edges into a sort of pouch and pinch to seal. Flip the pouch over so the folds are on the bottom, then roll the dough briefly to form a ball.
- Place the ball with the smooth side up in the pan. Repeat with remaining dough.
Rise # 2:
- Spray surface of rolls with cooking spray, then place plastic wrap over the pan.
- Return the tray to a warm place and leave for 30 - 45 min or until the dough has risen by about 75%.
- Partway through Rise #2, preheat oven to 390℉.
- Bake for 15 - 18 minutes, or until the surface is a golden brown and the roll in the center sounds hollow when tapped. The surface color is the best indicator that your rolls are done.
- Remove rolls from the oven and brush with the melted butter.
- Use the paper overhang to lift the rolls onto a cooling rack and let cool to warm before serving.
Video
Notes
Nutrition
