
I don’t know about you, but I used to find homemade bread recipes completely exhausting. They always seemed to demand four hours of clock-watching, multiple rounds of intense kneading, and a kitchen covered in flour. Who has time for that on a busy weeknight?
I wanted a hot, fresh loaf of homemade white bread that I could actually make on a whim—and I finally found the ultimate shortcut.
This Easy White Bread recipe is an absolute game-changer. By leveraging your stand mixer to do the heavy lifting and utilizing your oven’s “Proof” setting to supercharge the rise times, you can get a beautiful, bakery-quality loaf on the table in about an hour.
Best of all? It really only takes about 10 minutes of actual, hands-on work. It’s simple, bulletproof, and easy enough to bake any day of the week.
🍞 Sheri’s Tips for Bread Success
- The “Proof” Magic Shortcut: The secret to hitting that one-hour timeline is your oven. Don’t leave your dough sitting on a cold countertop waiting for it to rise. Cover your bowl and pop it right into the oven on the Bread Proof setting. It creates the perfect, warm microclimate that cuts your rising time in half.
- Tacky vs. Sticky: When adding your flour, stop when the dough pulls away from the sides of the bowl and forms a ball. It should be tacky (like a Post-it note when you touch it) but not sticky (leaving dough residue all over your fingers). If it’s too sticky to handle, just add an extra tablespoon of flour at a time.
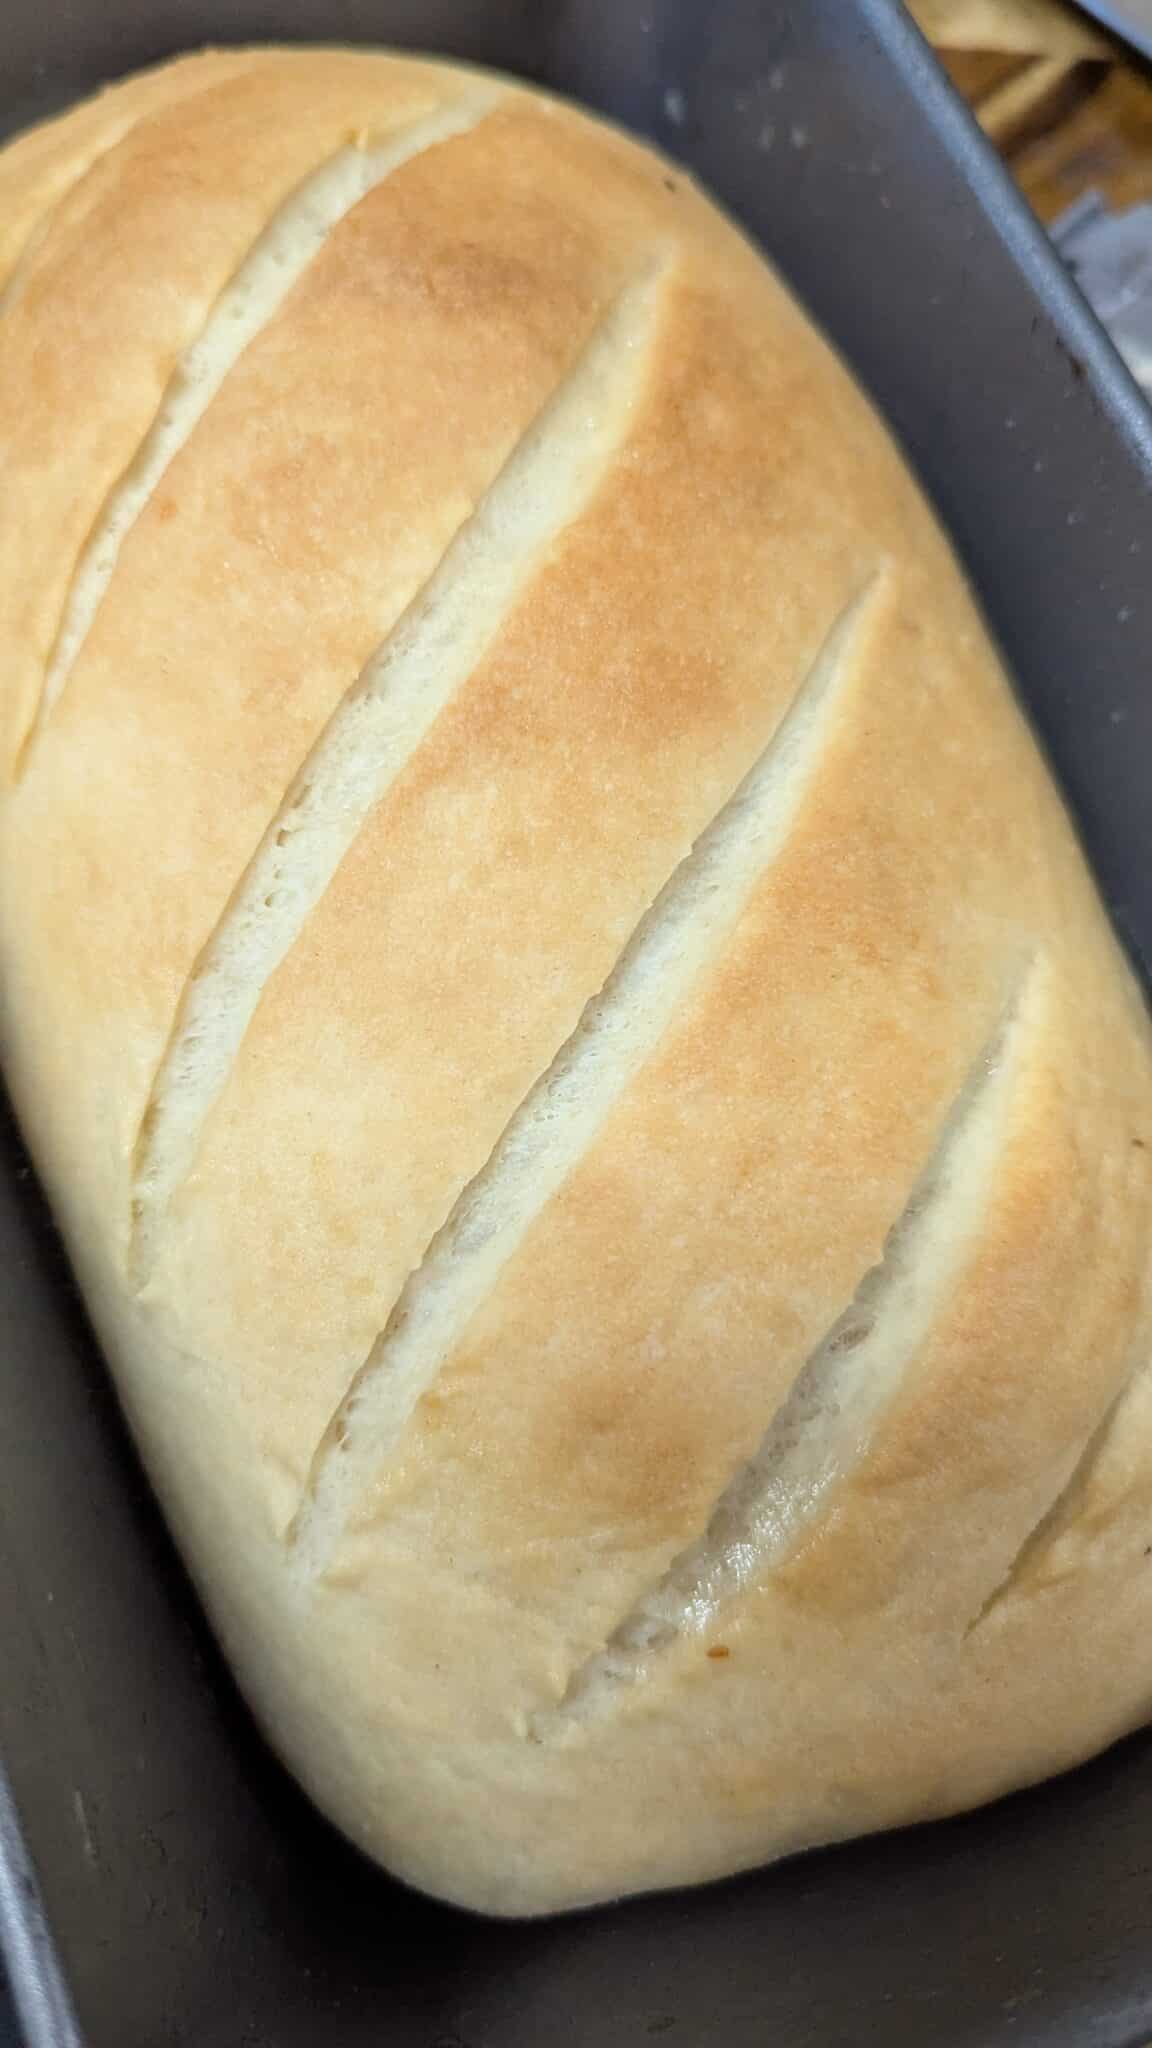
- The Covered Pan Secret: If you want that perfect, uniform, professional sandwich-loaf shape, use a Pullman bread pan with a sliding lid. It forces the dough to rise evenly and gives you those gorgeous, square slices that are perfect for toasting.
- Get that Bakery Shine: Don’t skip the final two crust tricks! Brushing the top with a simple egg white and water wash right before it goes into the oven gives you a beautiful, rich dark color. Then, the second it hits the cooling rack, brush it with melted butter to lock in moisture and keep the crust incredibly soft.
- Let it Cool (If you can!): As tempting as it is to slice into a piping-hot loaf straight from the oven, try to wait 10–15 minutes. Cutting it too soon traps the steam inside and can make the bread gummy.
Easy White Bread (Stand Mixer Method)
Equipment
- Stand Mixer
Ingredients
- 3/4 cup warm water 110°F/45°C
- 2 tablespoons sugar or honey
- 1 packet 2 1/4 teaspoons instant yeast
- 1/3 cup apple sauce or coconut oil
- 1 large egg
- 1 teaspoon salt
- 3 to 4 cups all-purpose or bread flour
- 1 tablespoon melted butter for brushing optional
Instructions
- In the stand mixer bowl, combine warm water, sugar, and yeast. Let it sit for 5 minutes until it becomes frothy.
- Add the oil, honey, and eggs, and salt to the yeast mixture and turn on the mixer on slow
- Gradually add 3 cups of flour, one cup at a time, mixing until a soft dough forms. If the dough is too sticky, add the remaining flour as needed.
- Cover and let rise 10 minutes
- Turn the dough onto a lightly floured surface and knead for about 5 minutes until smooth and elastic.
- Roll into loaf and add to a pan
- Cover with a clean kitchen towel and let it rise in a warm place for 10 minutes or longer. I usually put it in the oven on bread proof until it doubles.
- Preheat the oven to 425°F. Bake for around 25 minutes or until internal temp is 205.
- Brush the top with melted butter right after baking for a soft, shiny finish.
- Let the bread cool slightly before serving.
Looking for more delicious ways to upgrade your kitchen menu? Check out our master recipe archives at Forking Good Food for hundreds of easy, family-approved dishes!


