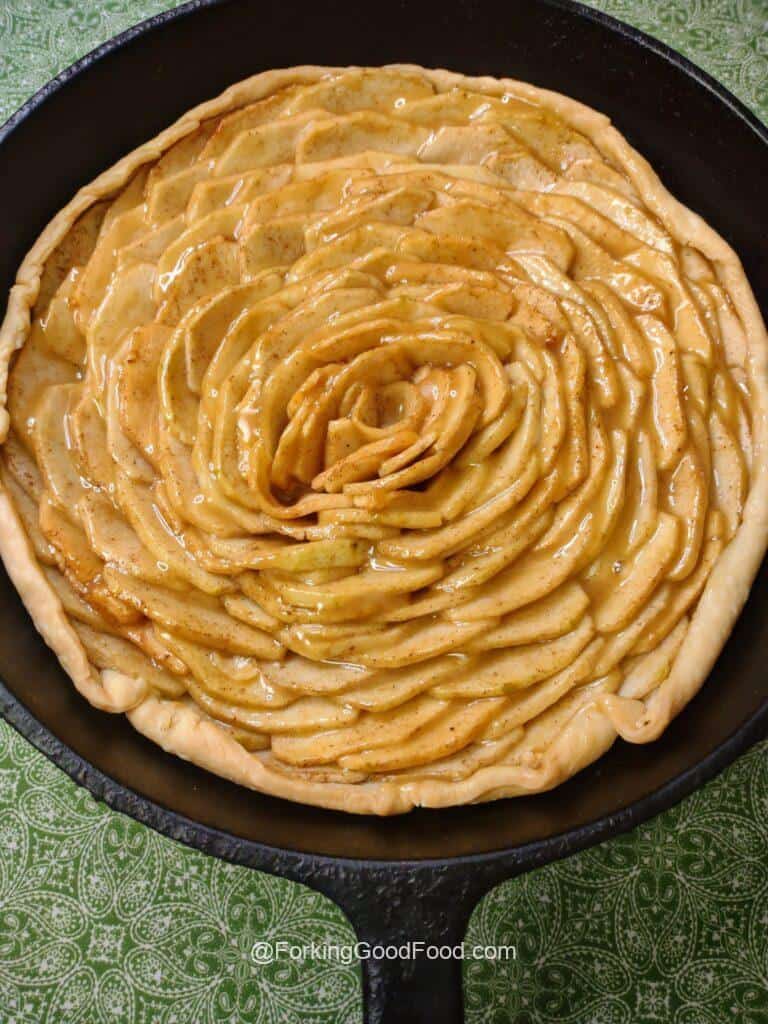
There is nothing more beautiful than a shiny, fresh fruit tart. But if the fruit is the artistic flair – then the crust is the yummy goodness. Pâte Sucrée sounds all French and fancy and much nicer than just plain old sweet dough. I find this recipe to be a blend between the tenderness of shortbread and the simple sweetness of a sugar cookie. It’s sweet enough to serve as a dessert, but light enough to have for brunch. Don’t let the number of steps in this recipe put you off- it’s really quite simple. No arm exhausting kneading, no rolling (unless you just want to), no babysitting and if you can stir and pat something into a ball then you have all the necessary skill to make a beautiful Pâte Sucrée.
Does the butter have to be cold to make Pâte Sucrée?
You will find a lot of recipes for short pastries like Pâte Sucrée use butter that’s at room temperature because it’s creamed into the sugar. You will also find a lot of recipes that call for cold butter. When making most pie doughs, you want the butter to be as cold as possible because when it hits the heat of the oven, the butter releases steam creating all those wonderful flaky layers. Short crust pastry is very forgiving and you can use the butter just about any way you want. Personally, I like my butter the colder the better. It’s much easier to work with and I find that the crust is hardly ever tough or chewy. Cold butter = melt in your mouth tenderness. Plus – I live in the South. It’s hot. I mean REALLY hot; so while room temperature may be ok, melted is not.
Can you freeze Pâte Sucrée?
YES!! It will last several days in the fridge and up to 3 months in the freezer. Just wrap it up tightly in several layers of plastic wrap or use a heavy duty freezer bag (removing as much air as possible) and you’ll have short crust pastry whenever you need it. If frozen, let it thaw in the fridge over night for best results.
How do I make Pâte Sucrée?
First you’ll need a few ingredients. Just some all purpose flour (you can also use gluten-free AP Flour with good results), sugar, salt, butter, an egg yolk, vanilla, and whole milk. You’ll also need a tart tin (Round, square, rectangle… doesn’t matter, as long as it has a removeable base), a grater, and some pie weights (you can use dry, uncooked rice or beans).

Start with frozen butter. If you have a Rotary Grater like this one then grate the butter as quickly as you can. If you only have the old fashioned handheld box grater the heat from your hand will melt the butter pretty fast so best stick to cutting your butter into small cubes. After you grate your butter, stick it back in the freezer while you’re measuring and mixing the next few steps.

While the butter is back in the freezer, mix your wet ingredients in a small bowl.

In a medium bowl, whisk all the dry ingredients together until well incorporated. Add in the butter and quickly work it in with your fingers (or pastry cutter) until it looks like coarse corn meal. if you’re using the grated butter method, this will take very little time as half your work is already done.

Mix the wet ingredients into the dry and stir until just combined. It will be quite crumbly but should hold together if you squeeze it.

On a lightly floured surface, give it literally 3 or 4 quick kneads just to bring it together, then pat into a rough ball shape.

This next step is a personal preference. You can roll the dough out to about 1/8″ thickness if you’re really talented with a rolling pin. I am not however, so I pat the dough into the rough shape of my tin, roll it lightly just to smooth it out, then transfer to the lightly greased tin and finish the rest with my fingers. Make sure you get in the corners and all the way up the sides. If there is any excess hanging over the edge of the pan, simply run a sharp knife along the edge to remove it. The next step is to “dock” your pastry. That means take a fork and prick the bottom of the crust all over. This will prevent any air pockets from forming and causing your pastry to puff up.

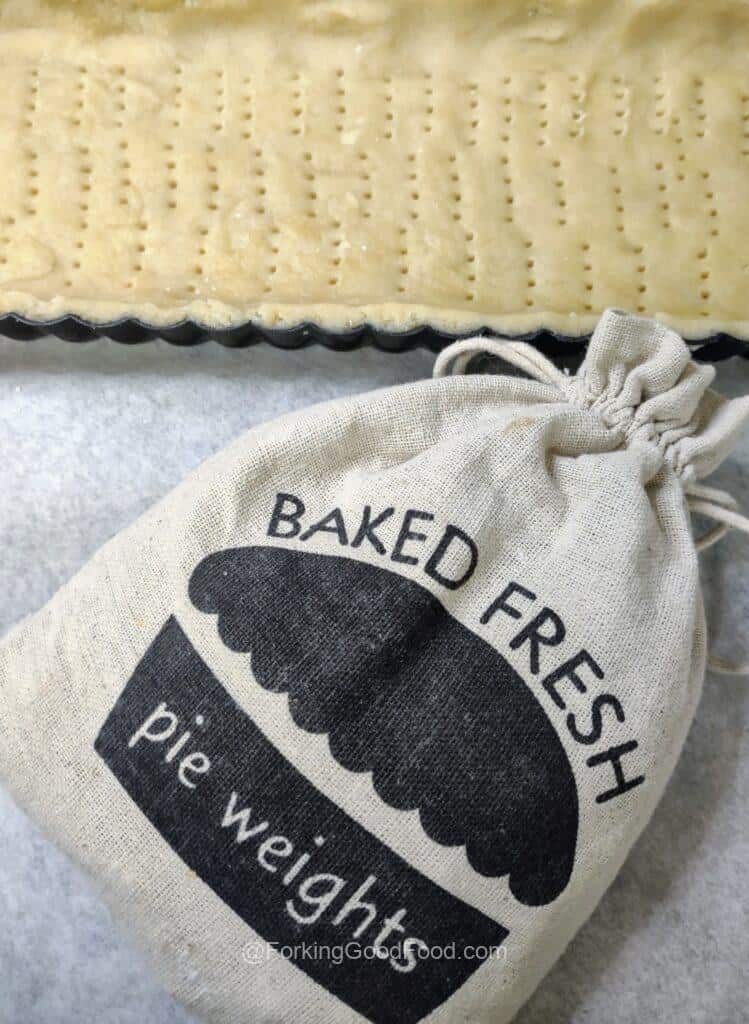
Put the tart tin in the fridge and let it chill for 30 minutes while you preheat your oven. Once the dough is chilled, line it with parchment paper or foil, making sure you have plenty of overhang, then fill the tin with pie weights, beans, or rice.
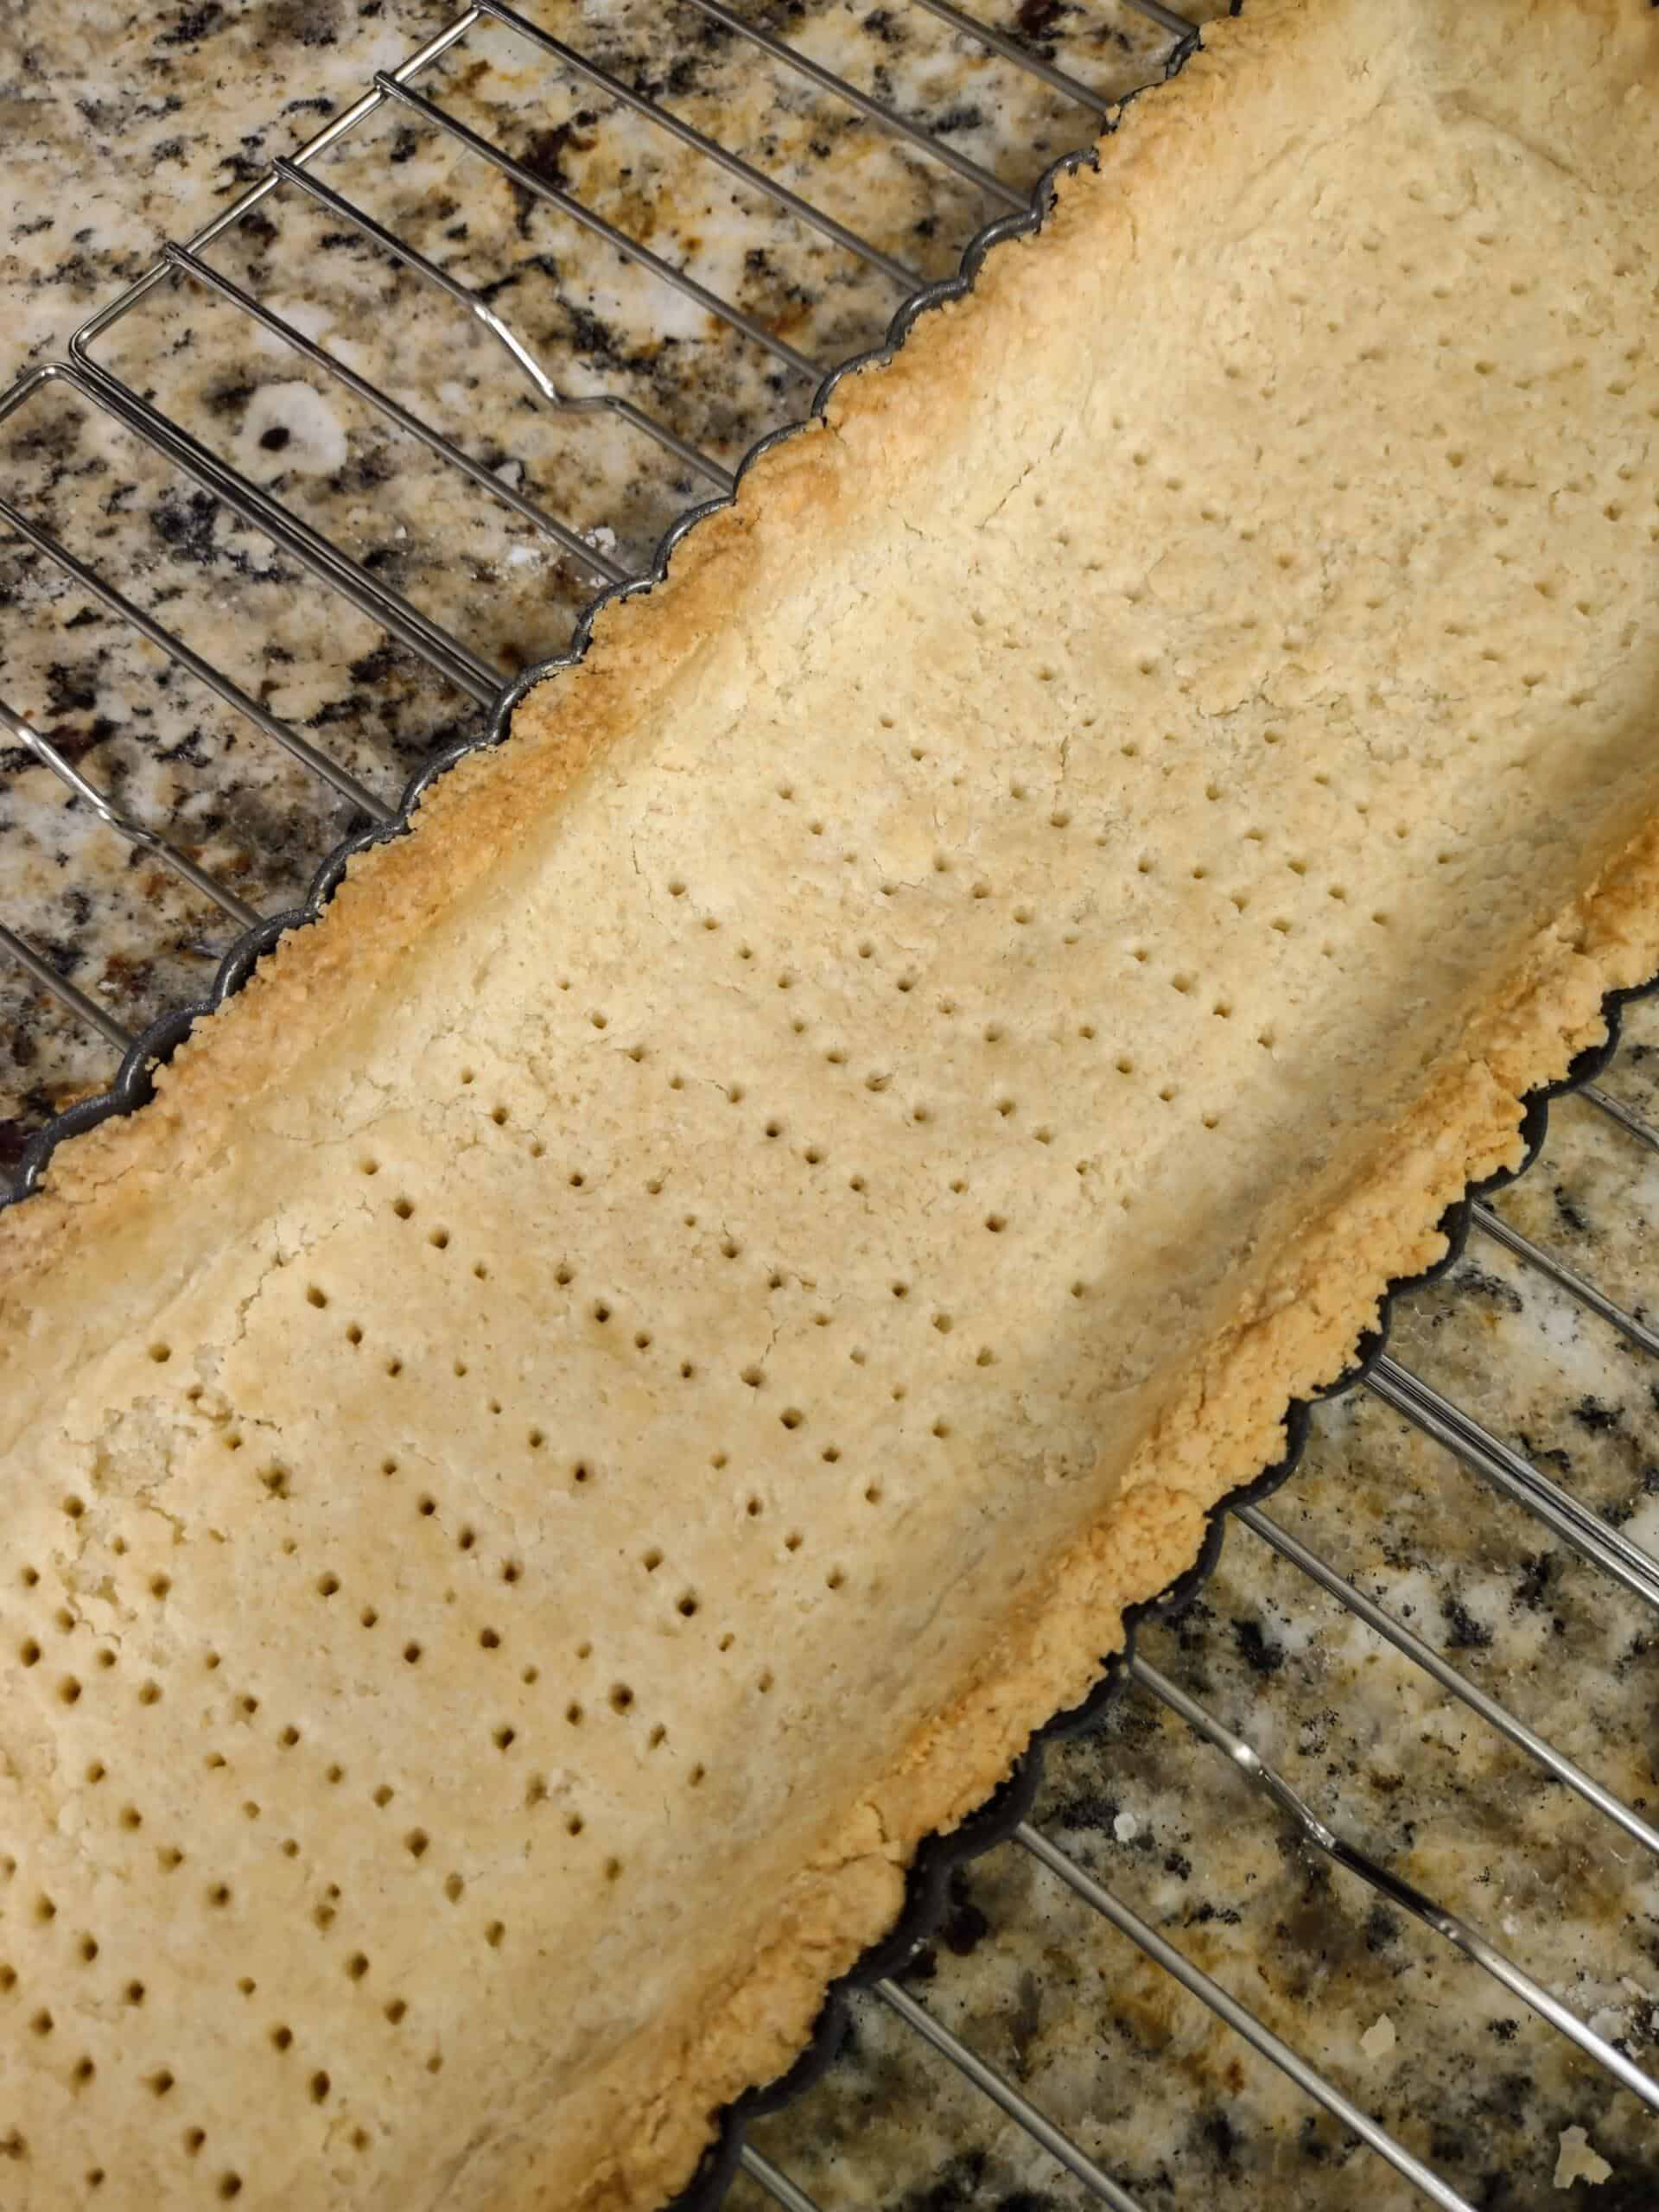
Bake for 15 minutes, then remove the weights and liner (the weights will be very hot, so use caution when transferring them to another container to cool). Put back in the oven and bake another 8 to 10 minutes or until the edges are a nice golden brown. Let it cool completely before filling. For a simple fruit tart recipe that uses this crust – check this out Classic French Fresh Fruit Tart
Pâte Sucrée - Sweet Pastry Crust
Equipment
- Tart pan with a removable bottom
- Pie weights or uncooked/dry rice or beans
Ingredients
- 1 ¼ cups AP flour can use gluten-free AP flour
- ¼ cup sugar
- ¼ tsp salt
- 8 Tbs unsalted butter frozen and grated
- 1 large egg yolk
- 1 tsp vanilla extract
- 1 tbs whole milk
Instructions
- Freeze your butter for about 30 minutes, then grate quickly and return back to the freezer for about 15 more minutes.
- While the grated butter is in the freezer, in a medium bowl, whisk together the flour, sugar, and salt.
- In a small bowl whisk together the egg yolk, vanilla, and milk and set aside.
- Work the cold butter into the flour mixture until it looks like coarse breadcrumbs.
- Stir the wet ingredients into the dry - it will be quite coarse.
- Working as quickly as possible as not to melt the butter, gently knead the dough a just a few times. It should be crumbly but hold together when squeezed. If you knead too much the crust will be very hard.
- Lightly grease the bottom and sides of a tart pan that has a removable bottom.
- Roll the dough in the rough shape of your pan and gently transfer it. Press it into the bottom and up the sides - about 1/8” thick. You can also simply press the crust into the pan without rolling.
- Prick the bottom of the crust all over with a fork then refrigerate for at least 30 minutes.
- While the dough is chilling, preheat the oven to 375°F.
- Line the crust with parchment or foil and fill with pie weights or dry rice or beans.
- Bake for about 15 minutes. It should be dry.
- Remove the weights and parchment (or foil) and return the crust to the oven to bake for another 8 to 10 minutes, until golden brown. The weights will be incredibly hot so take care when transferring them to another container.
- Remove the crust from the oven and cool it completely on a rack before filling.
Notes