
There’s nothing quite like the smell of fresh bread baking in your kitchen! This classic homemade white bread recipe is soft, fluffy, and perfect for sandwiches, toast, or just enjoying warm with a little butter. With simple ingredients and easy steps, you’ll be rewarded with two beautiful loaves of golden, delicious bread.
Tips and Tricks:
- Flour Measurement: Start with 3 1/2 cups of flour and add gradually to avoid using too much. The dough should be soft but not sticky.
- Water Temperature: Use a thermometer to ensure the water is between 120°F and 130°F. Too hot will kill the yeast; too cold will slow the rise.
- Kneading: Proper kneading is key! The dough should become smooth and elastic. A stand mixer with a dough hook can make this step easier.
- Rising Time: Allow the dough to rise in a warm, draft-free spot. You can place it near a warm oven or in a microwave with a cup of hot water.
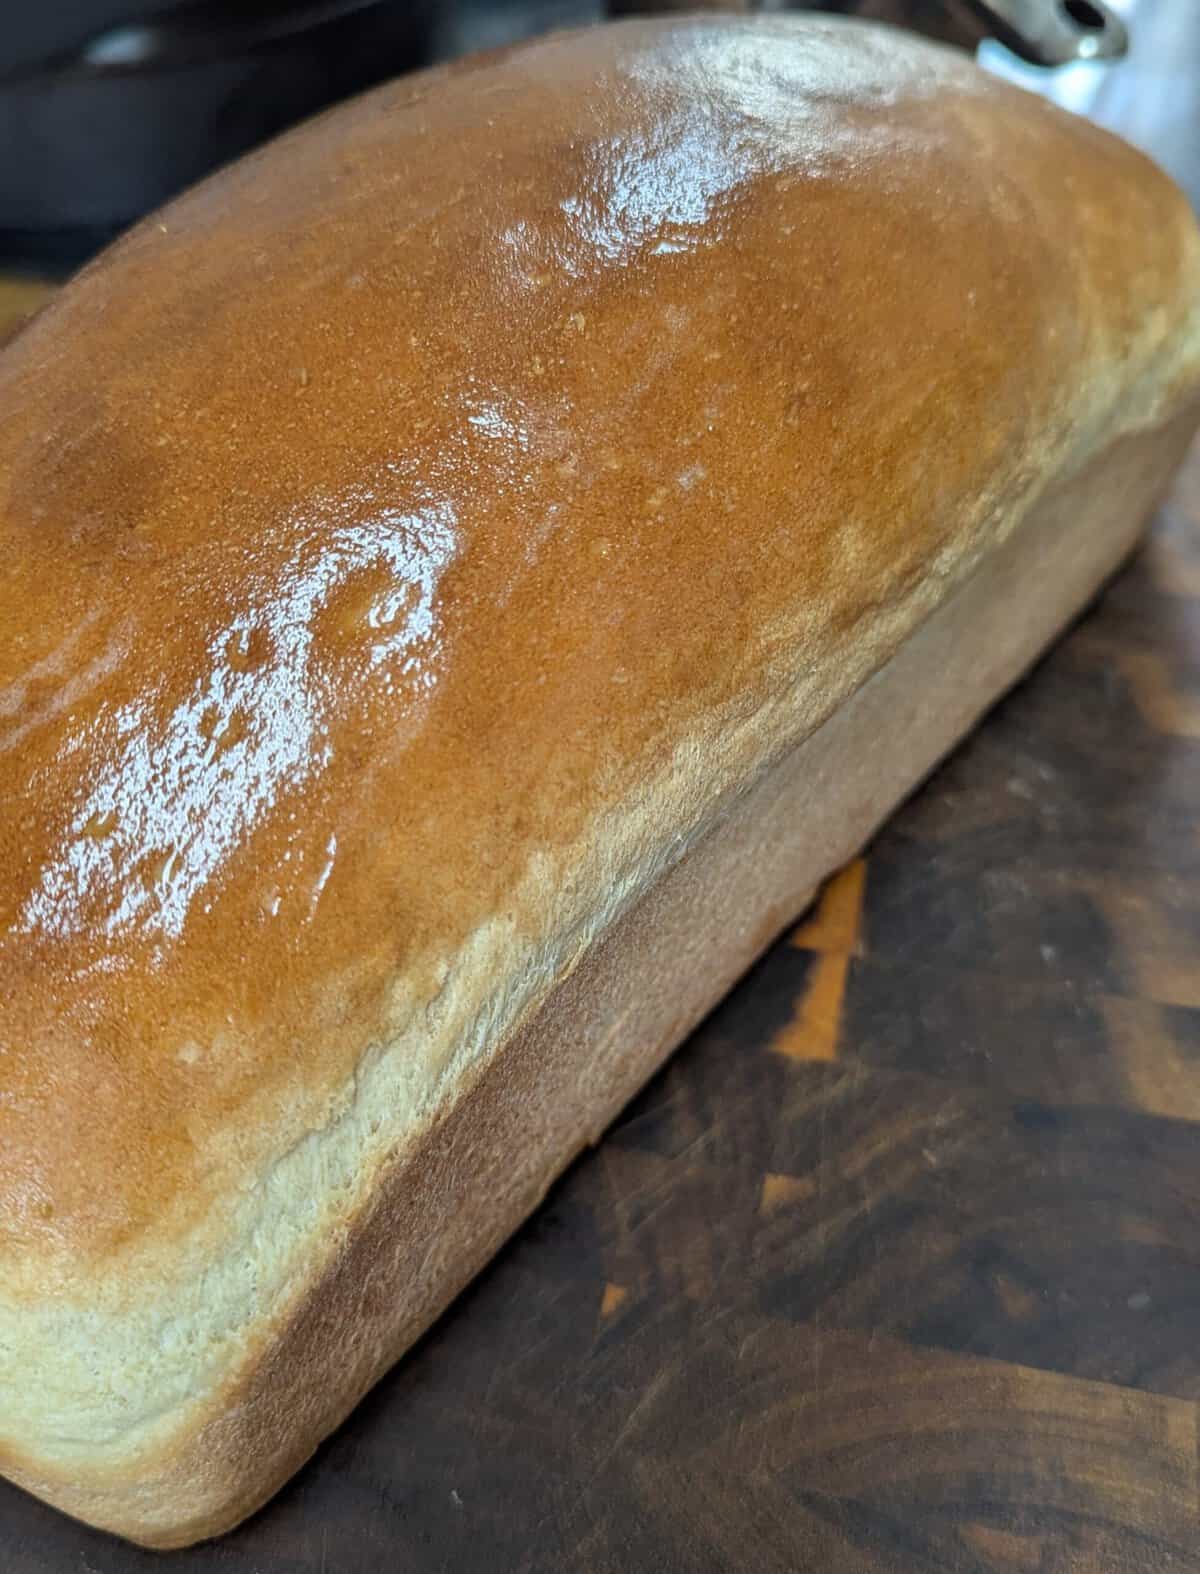
- Golden Crust: For an extra golden crust, brush the loaves with melted butter both before and after baking.
- Cooling: Let the bread cool completely before slicing to avoid squashing the loaves.
Enjoy making this homemade bread part of your weekly baking routine—it’s simple, satisfying, and so much better than store-bought!

My Very Best White Bread Recipe
Enjoy making this homemade bread part of your weekly baking routine—it's simple, satisfying, and so much better than store-bought!
Ingredients
- 6 to 7 cups bread flour
- 3 tablespoons sugar
- 1 tablespoon salt
- 2 tablespoons shortening
- 2 packages regular or quick active dry yeast 4 1/2 teaspoons
- 2 1/4 cups very warm water 120° to 130°F
- 2 tablespoons butter or margarine melted, if desired
Instructions
- In a large bowl, stir 3 1/2 cups of the flour, sugar, salt, shortening, and yeast until well mixed. Add warm water and beat with an electric mixer on low speed for 1 minute, scraping the bowl frequently. Beat on medium speed for another minute, continuing to scrape the bowl. Stir in enough remaining flour, 1 cup at a time, until the dough is easy to handle.
- Place the dough on a lightly floured surface and knead for about 10 minutes or until the dough is smooth and springy. Grease a large bowl with shortening and place the dough in the bowl, turning it to coat all sides. Cover loosely with plastic wrap and let it rise in a warm place for 40 to 60 minutes or until the dough has doubled in size. The dough is ready if an indentation remains when touched.
- Grease the bottoms and sides of two 8×4-inch or 9×5-inch loaf pans with shortening or cooking spray.
- Gently punch down the dough to deflate it and divide it in half. Flatten each half into an 18×9-inch rectangle on a lightly floured surface using your hands or a rolling pin. Roll the dough tightly from the 9-inch side, pressing with your thumbs to seal after each turn. Pinch the edge and ends to seal, then fold the ends under. Place the dough seam-side down into the prepared pans. Brush the loaves lightly with butter. Cover loosely with plastic wrap and let them rise in a warm place for 35 to 50 minutes or until doubled in size.
- Move the oven rack to a low position so the tops of the pans are in the center of the oven. Preheat the oven to 425°F.
- Bake for 25 to 30 minutes or until the loaves are deep golden brown and sound hollow when tapped. Remove from the pans and place on a wire rack. Brush with melted butter and allow to cool.
Tried this recipe?Let us know how it was!


